Installing Silverblue
The preferred way to install Silverblue is with the Fedora MediaWriter application. See the Download page for details on how to create a USB stick to install Silverblue.
NOTE: The following instructions are written in detail, assuming that you have never installed Fedora before. If you have experience using or installing Fedora, you may be able to skip much of these instructions.
Before You Begin
Before you start the installation process, you should answer the following questions:
Do you want to retain any existing data on your system?
-
If yes, you should consider using the manual partitioning method during the install process.
-
Alternatively, if your system has an existing Fedora install on it, you could use the side-by-side install method.
Do you want to do a fresh install and do not care about retaining any existing data on your system?
-
If yes, you should consider using the automatic partitioning method during the install process. This is the easiest way to get Silverblue installed on your system.
-
You may still use the manual partitioning method during the install process, but it will require some additional steps.
Starting the Install
After you have successfully created your USB stick, you’ll need to boot your system from the USB stick. Depending on your system, you might get lucky and it will boot from USB automatically. Otherwise, you’ll need to figure out how to access the boot menu of your system’s BIOS/UEFI and select the USB stick as the boot device.
You should see a Fedora 28 installation screen that is identical to the Fedora 28 Workstation installer:
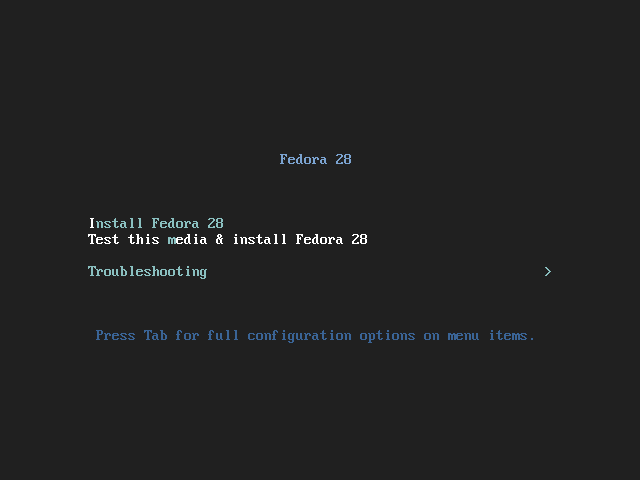
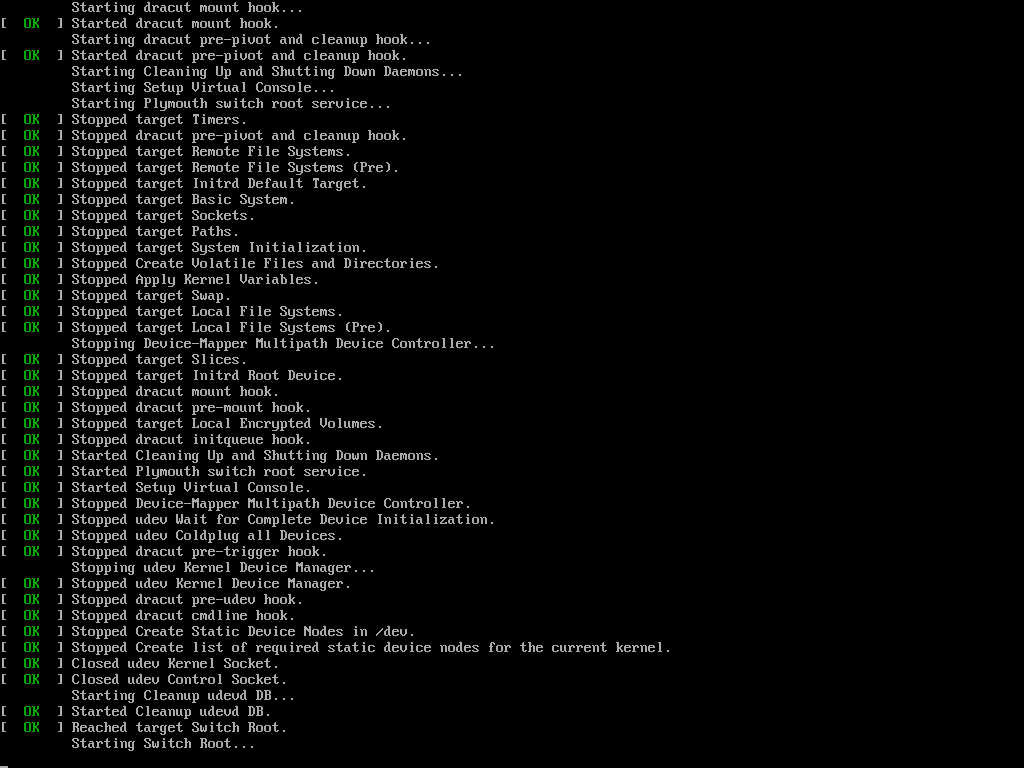
From this menu, you can choose to test the media to ensure that the USB stick was created successfully. Or launch right into the installer if you are feeling confident. For the purposes of this guide, we know our USB stick is working properly, so we’ll start the installer. You may see some messages fly past your screen that look like this:
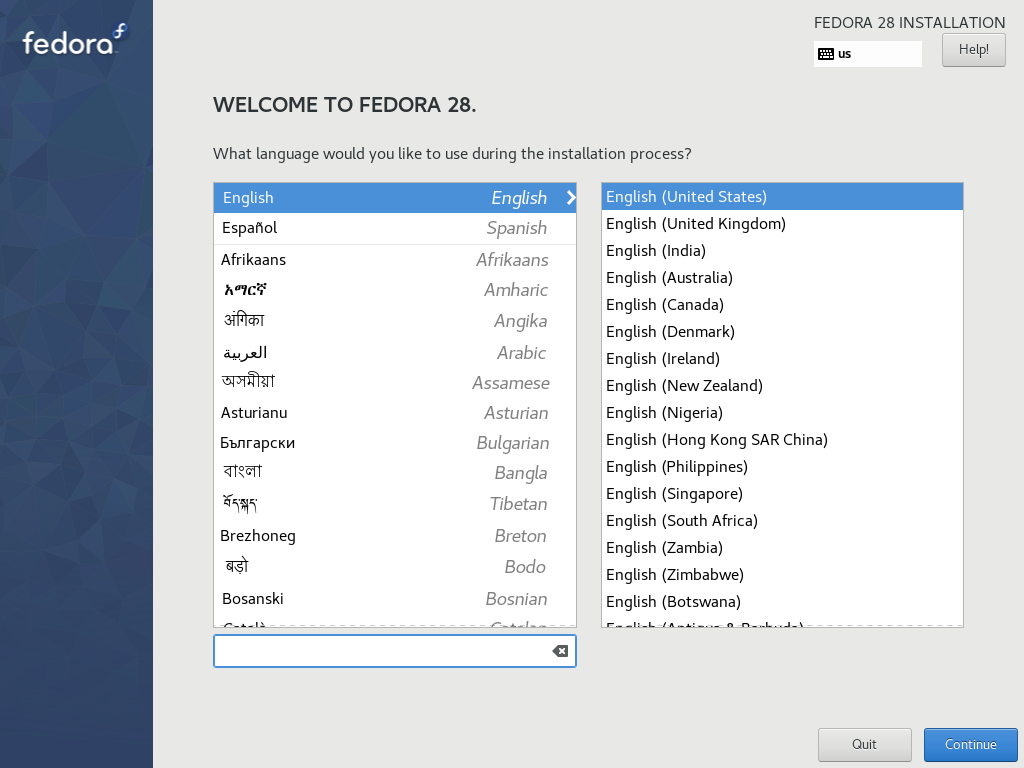
Eventually, the graphical installer should start and you’ll be presented with the options to select the language you wish to use during the install:
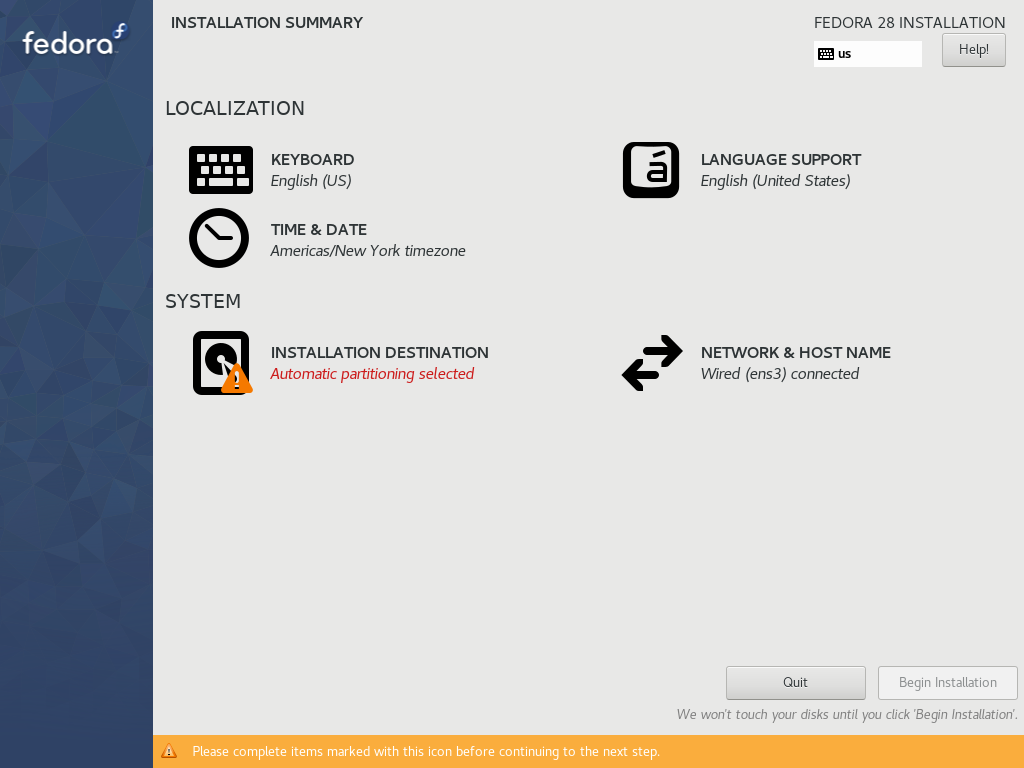
After selecting your language, the next screen of the installer allows us to make additional selections regarding the installer. We can configure the keyboard layout, installed language support, date and time, networking, and partitioning. In this guide we are only going to focus on the partitioning because of certain restrictions in this area when using Silverblue. However, if you have questions about some of the options of this part (or any part) of the installer, you can consult the Fedora Installation Guide.
On this screen, you should notice that there is a warning on the bottom of the screen that says you need to complete the items marked with the warning icon before we can begin the actual install. Additionally, the 'Begin Installation' button is greyed out. The item that needs to be completed is the partitioning and we can start that process by selecting the "Installation Destination" item with the warning icon next to it:
After choosing the "Installation Destination", you are brought to a screen where you have to decide if you want to use automatic partitioning or manual partitioning. If you have existing data on your disk and want to preserve it, you’ll want to manually partition your disk(s). However, if you are comfortable with losing any and all existing data on your disk(s), you can choose automatic partitioning:
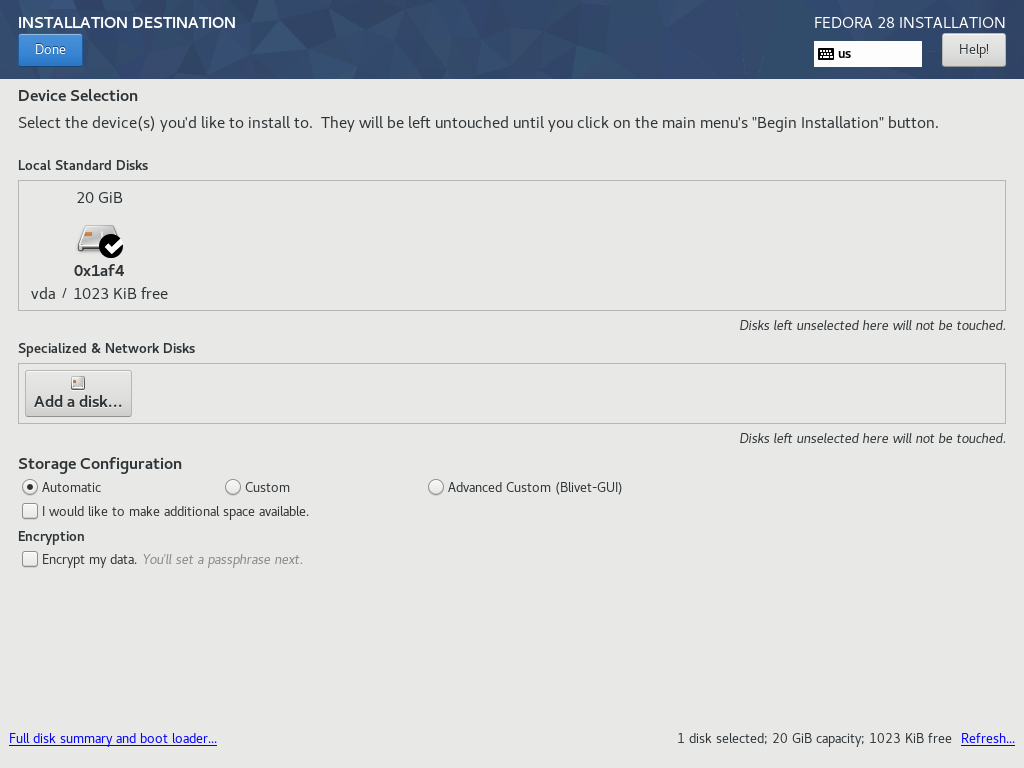
Automatic Partitioning
If you choose automatic partitioning, your job is almost done. Select the disk you want to install onto (in this guide we have only a single disk). Check the radio button that says 'Automatic' and click the big blue button at the top that says 'Done'.
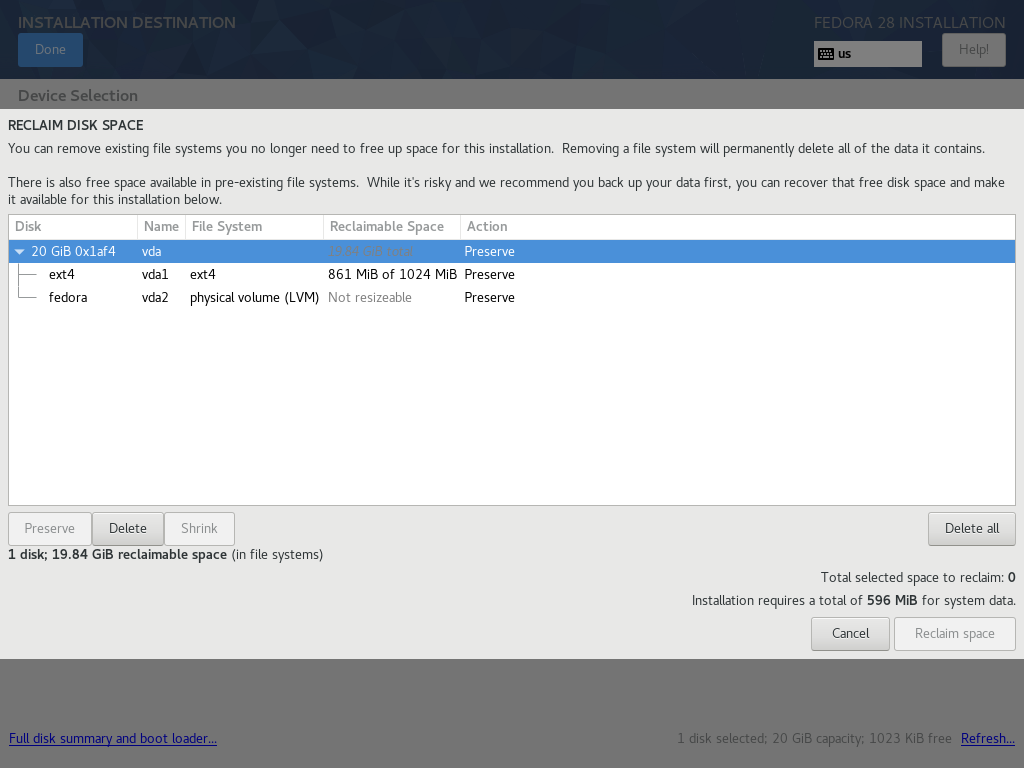
If your disk already has partitions on it, you’ll be presented with a dialog to 'reclaim' space. This means you are going choose which partitions can be deleted, so that the disk can be re-partitioned from scratch.

In this guide, we are going to delete all the existing partitions so that we can use the entirety of the disk for the install. This is easily done with the aptly named 'Delete All' button.
And then confirm that you are going to delete all the partitions by clicking the 'Reclaim space' button:
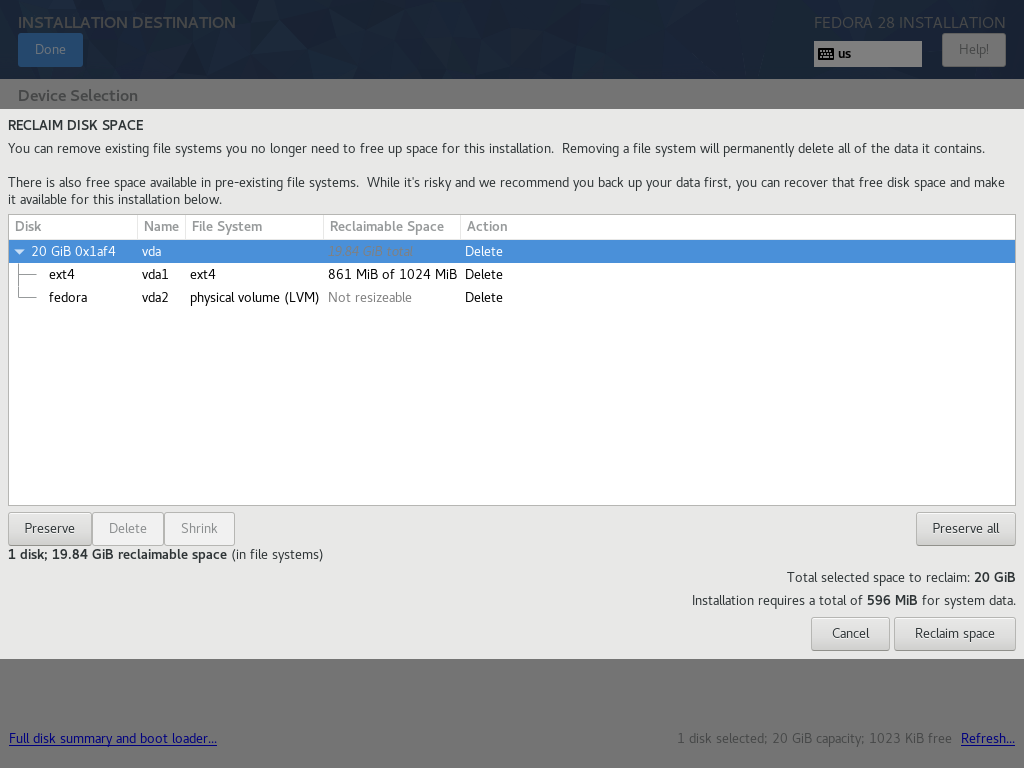
With your partitioning choice complete, the installer brings you back to the installation summary screen and the big blue 'Begin Installation' button is beckoning you to click it. Once you click the button, your disk(s) will be altered and all data on the disk(s) will be lost.
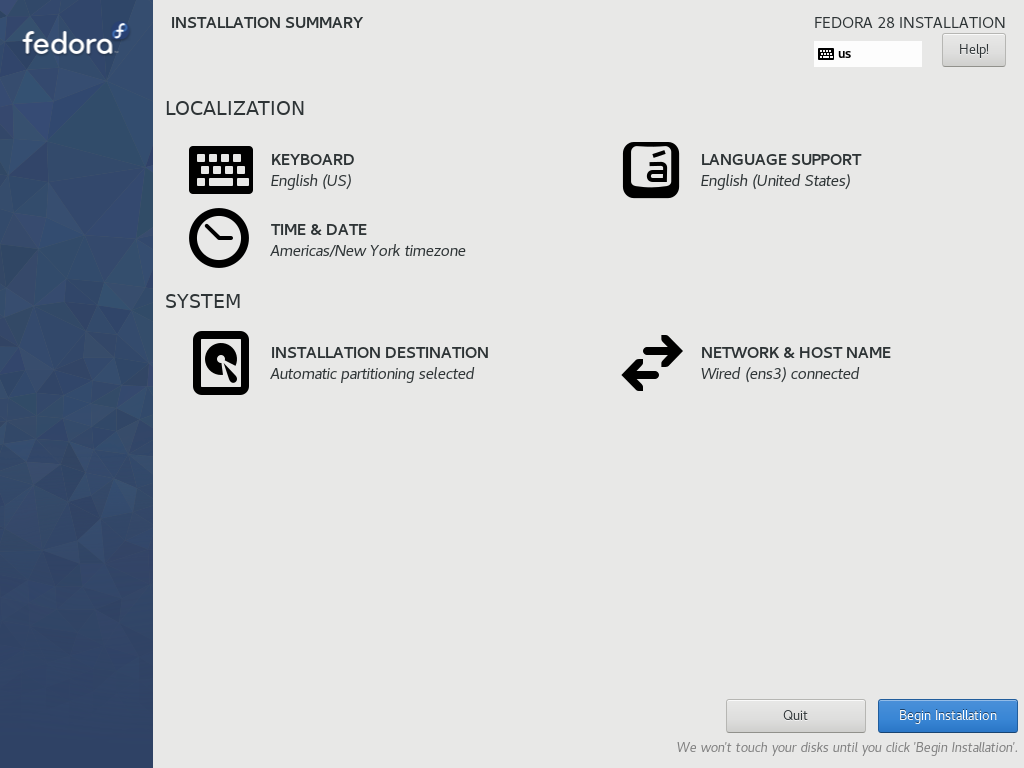
Once you have started the install process, you can move on to the next phase where you will configure users.
Manual Partitioning
When choosing to manually partition your system, you need to be aware of
certain restrictions specific to Silverblue. Due to how the operating
system and filesystem are managed via libostree, only certain mount
points can be created during the install process. These mount points are
limited to /boot, /var, subdirectories under /var, and the root
filesystem.
Unfortunately, the installer (which is shared with vanilla Fedora Workstation) is not aware of these restrictions specific to Silverblue and will happily accept your custom partitions without error. Only when you try to boot your system will you be made aware that you have made a mistake.
With those restrictions in mind, let’s try to manually partition our system. The first screen you’ll see is the "Installation Destination" screen. From here, you can select which disk(s) to use for the install and choose the partitioning method. For this guide, we only have a single disk, but you might have more than one disk in your system. In order to select the manual parition method, click the radio button labeled "Custom".

This will launch you into the "Manual Partioning" screen, which gives you a minimal overview of the existing storage configuration. In order to see all of the partitions on your disk, you should click the arrow next to the "Unknown" disk.
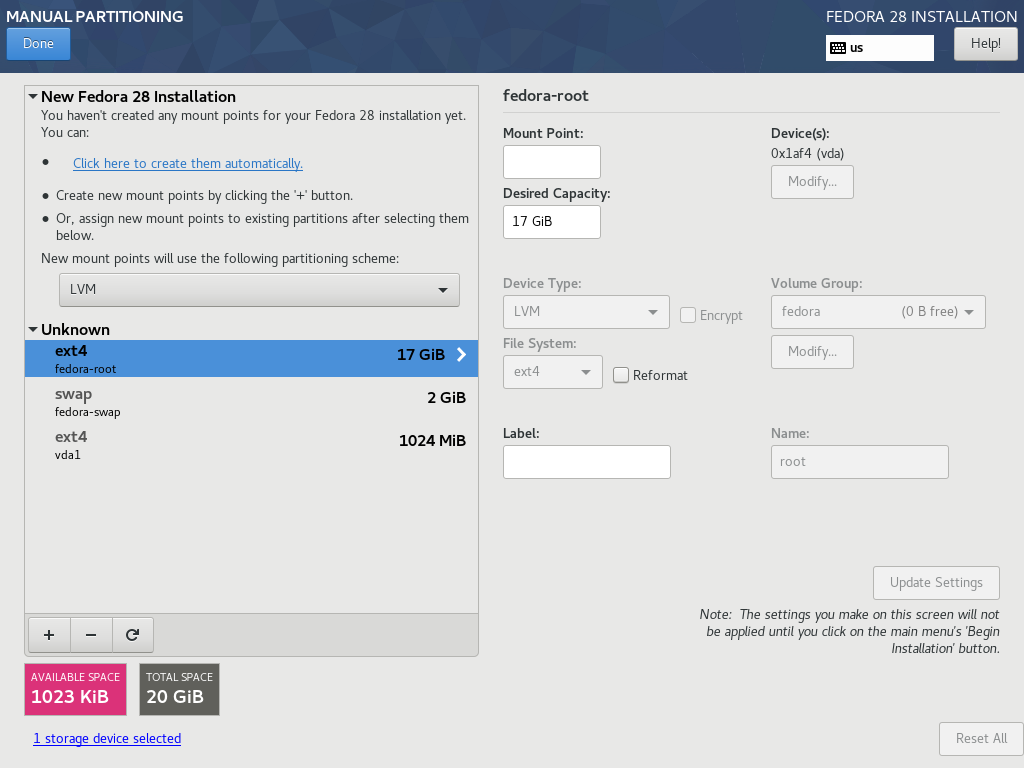
Now we can see that we have three existing partitions on the disk: two
ext4 partitions and a swap partition. At this point, you should
(hopefully!) be able to recognize your existing partitions and make sure
they remain intact if you wanted to keep the existing data on your disk.
But for this guide, we do not want to preserve any data, so we are going
to start deleting all of our existing partitions to start fresh. We
start by selecting the first ext4 partition in the list labeled
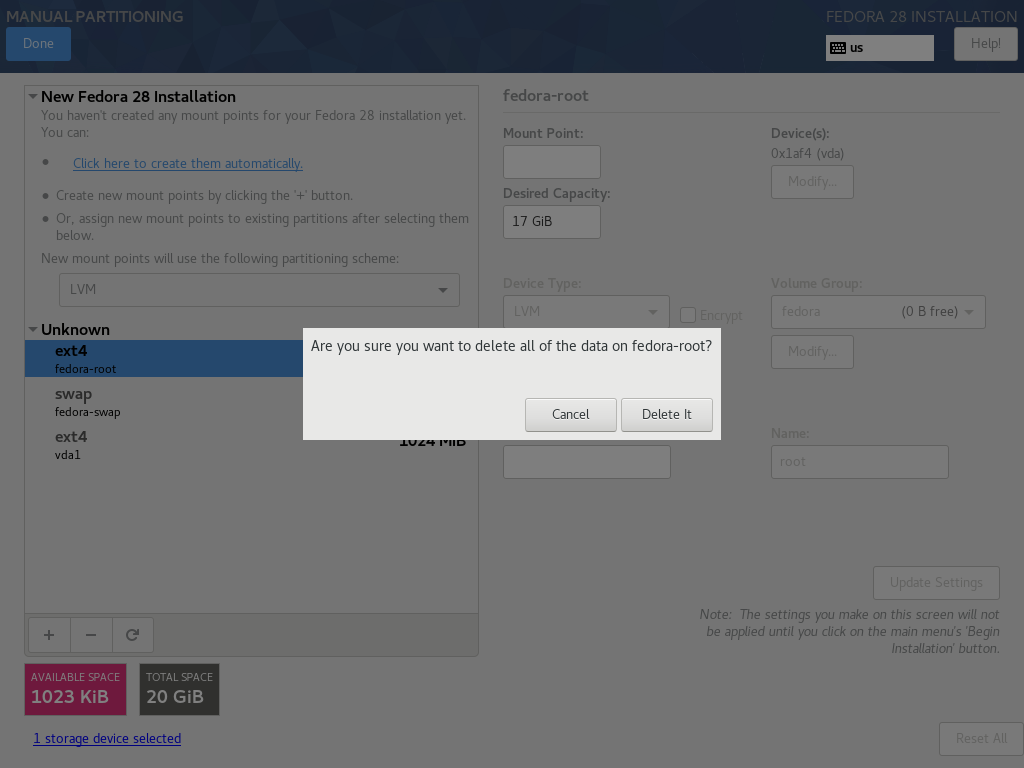
"fedora-root". Then we click the button that looks like a dash ("-") to
mark the partition to be delete. This brings up a prompt asking you to
confirm that you want to delete the partition.
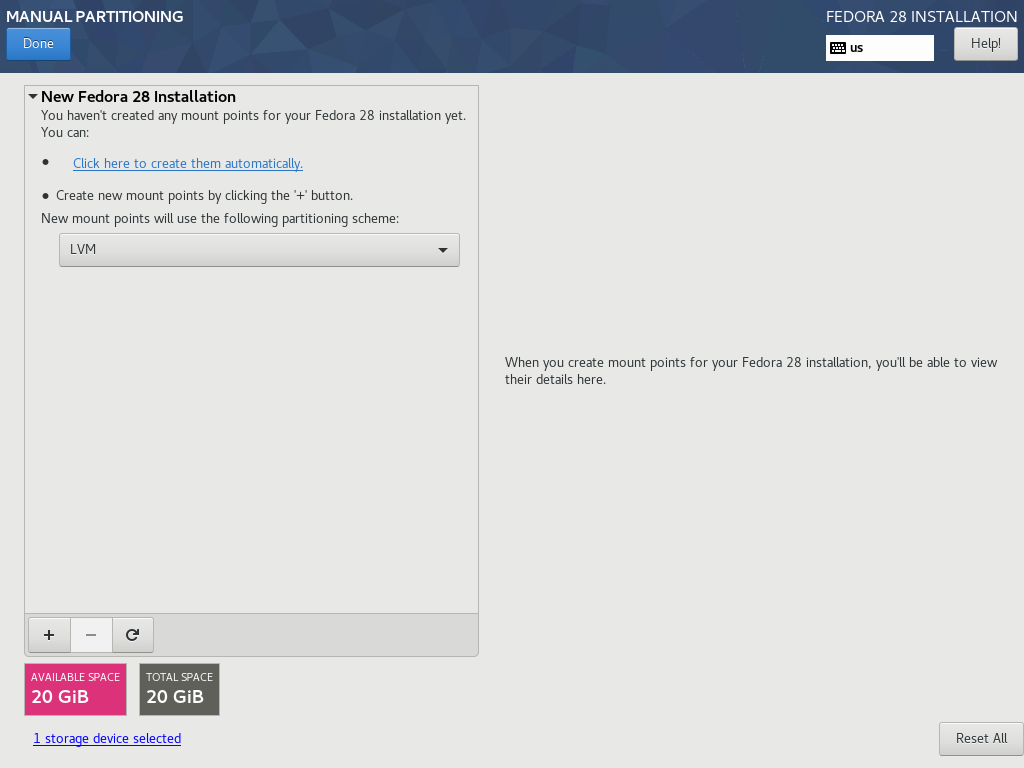
Repeat this process for all the partitions that you want to delete. In this guide, we have removed all the paritions from the system and have a blank disk to work with.
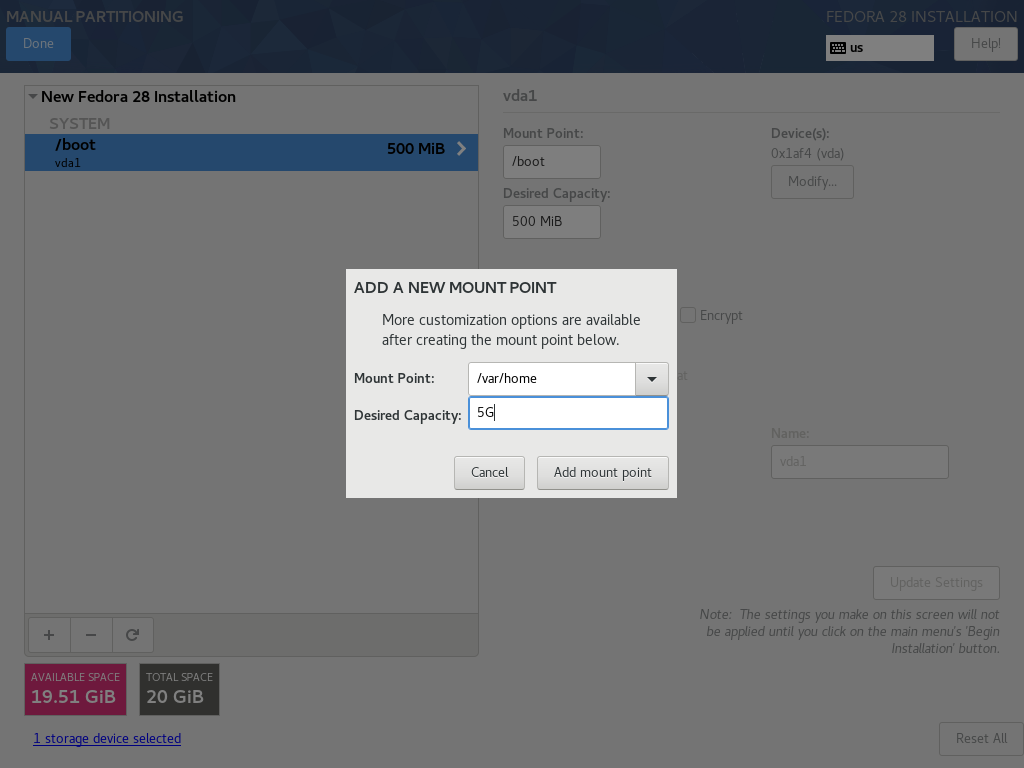
We’ll create our first partition by clicking on the button that looks
like a plus sign ("+"). This first partition will be our /boot where
critical pieces of software required to boot your system (like the
initramfs and vmlinuz executable). It doesn’t need to be very large,
so we set the size for 500M.

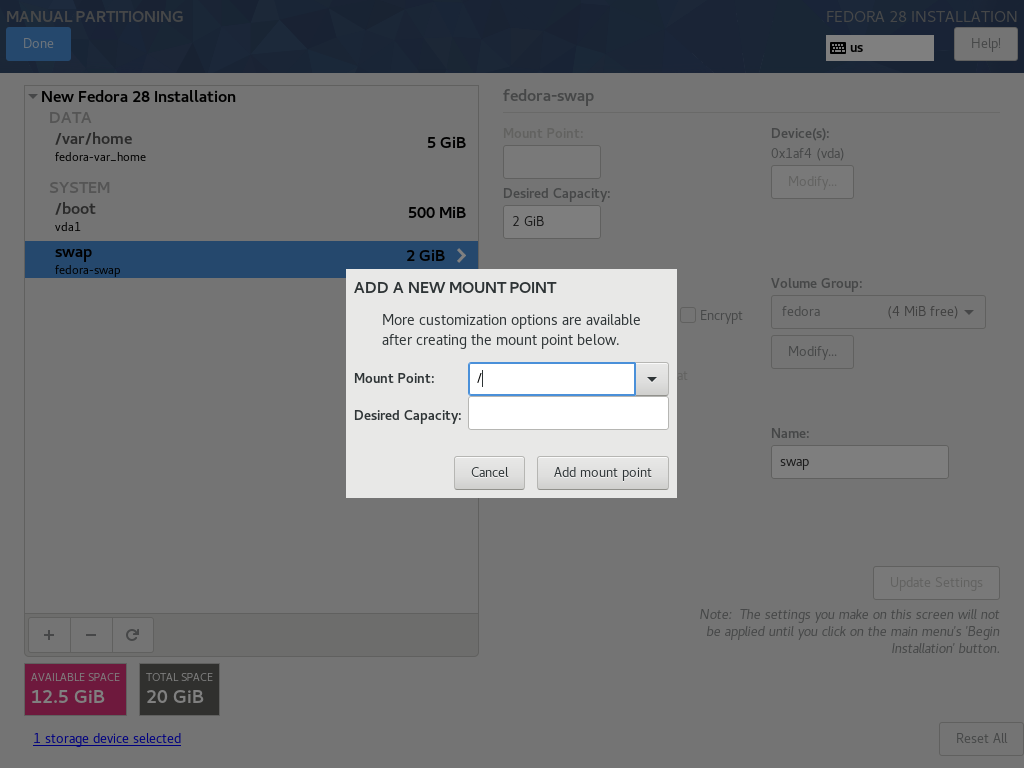
The only other partition we absolutely need in order for the system to
install successfully is the root partition ("/"). But we have the
flexibility to create additional partitions that can include /var and
subdirectories under /var. For the purposes of this guide, we’ll
create a /var/home which is where all the user’s home directories
live. (There is a symlink from /home to /var/home on Silverblue
systems.)
You can create additional parititions such as /var/log or
/var/lib/containers, but for this guide, we will move on to creating
the root partition. We’ll finish this part of the install process by
creating the root partition for our system. We can leave the size field
blank during this step and the installer will automatically use the
remaining free space on the disk for the partition.
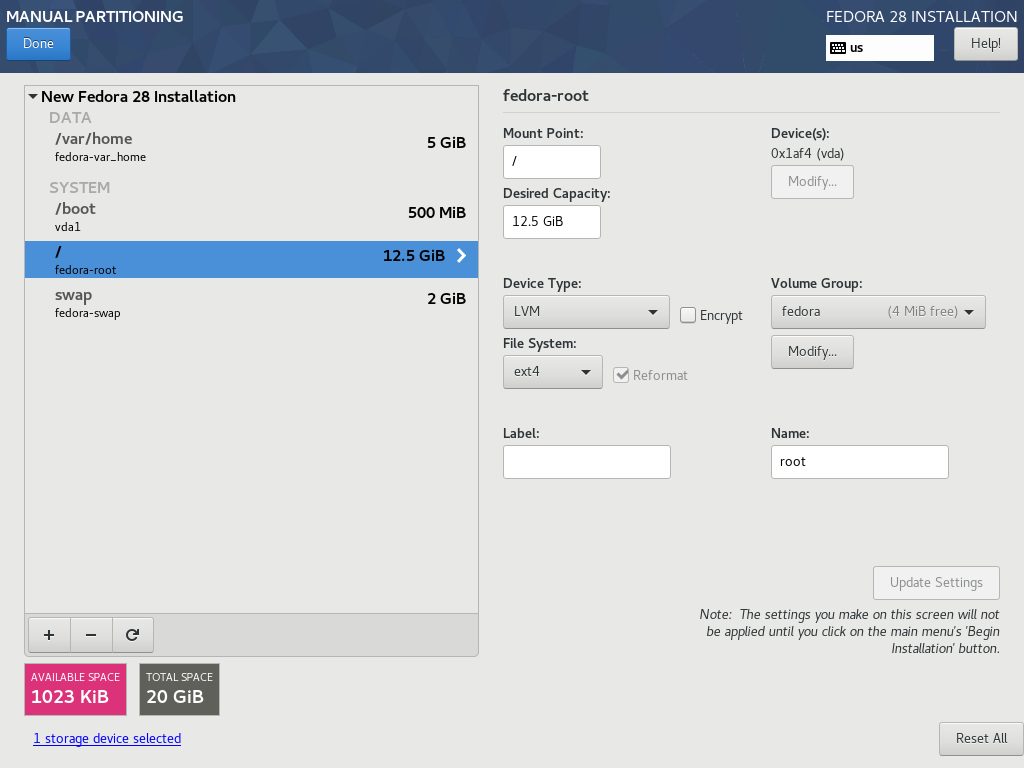
With all the partitions created, we can inspect the final configuration
before proceeding. It’s worth noting here that the default partitioning
scheme uses
LVM as
the default partitioning scheme with an ext4 filesystem. You can
change this during this partitioning phase to use standard partitions or
an xfs filesystem, but that is outside the scope of this guide.
After confirming your partitioning choices by clicking the big, blue "Done" button at the top of the screen, you are brought back to the "Installation Summary" screen. Here you have a chance to inspect your choices one last time before starting the actual installation proper. Once you click the big, blue "Begin Installation" button, your disk(s) will be altered and any data on them may be lost forever.
Once you have started the installer, you can move on to the User Configuration section of this guide.
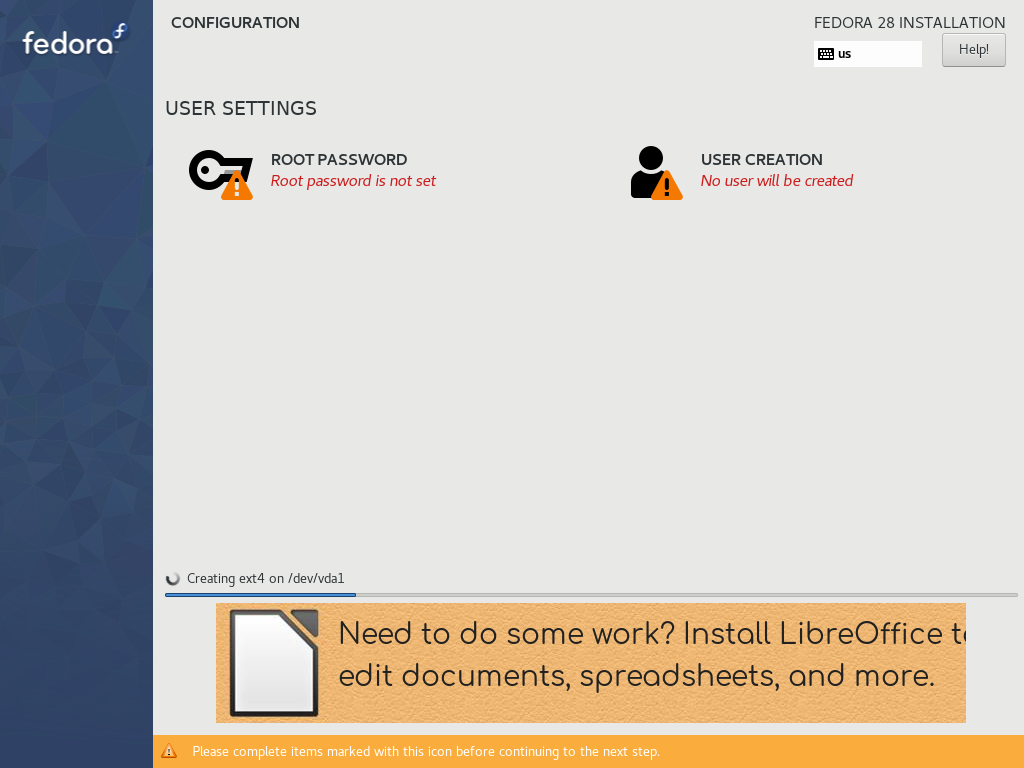
User Configuration
As the installer churns away, you are presented with a screen where you can configure the root password and create one or more regular users:
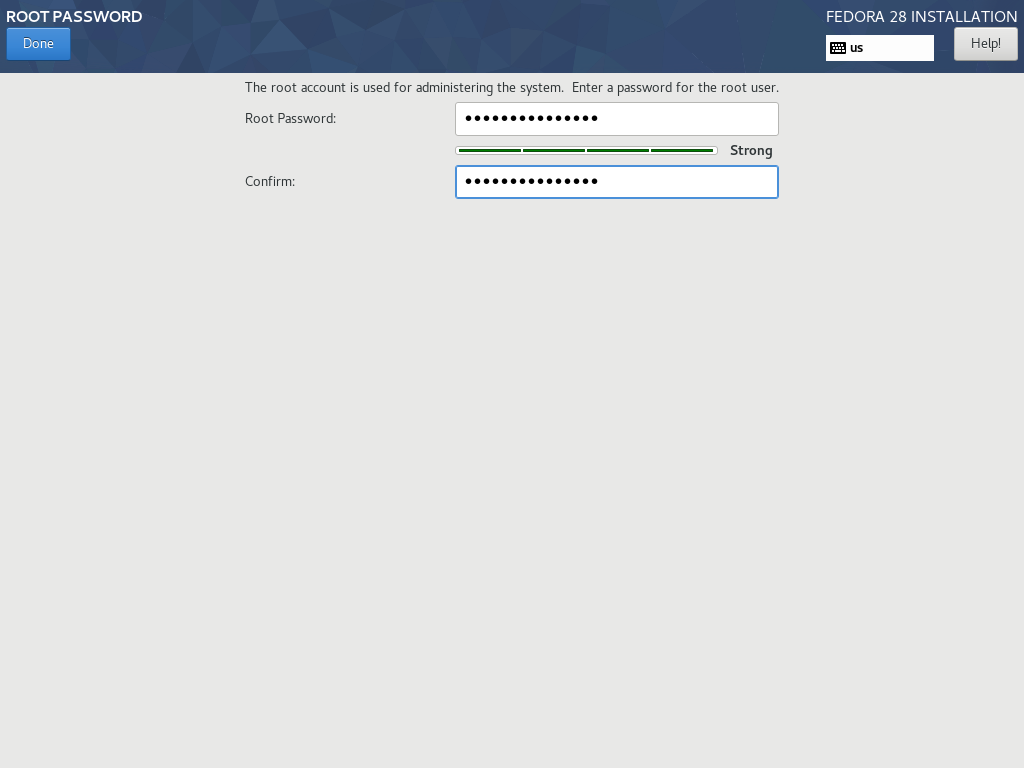
Firstly, let’s configure a root password. Be sure to choose a safe and strong password that contains a mix of upper and lower case characters, numbers, and symbols. The installer has a nice indicator during this root password process that estimates the strength of your password; aim for creating a password that is "Strong":
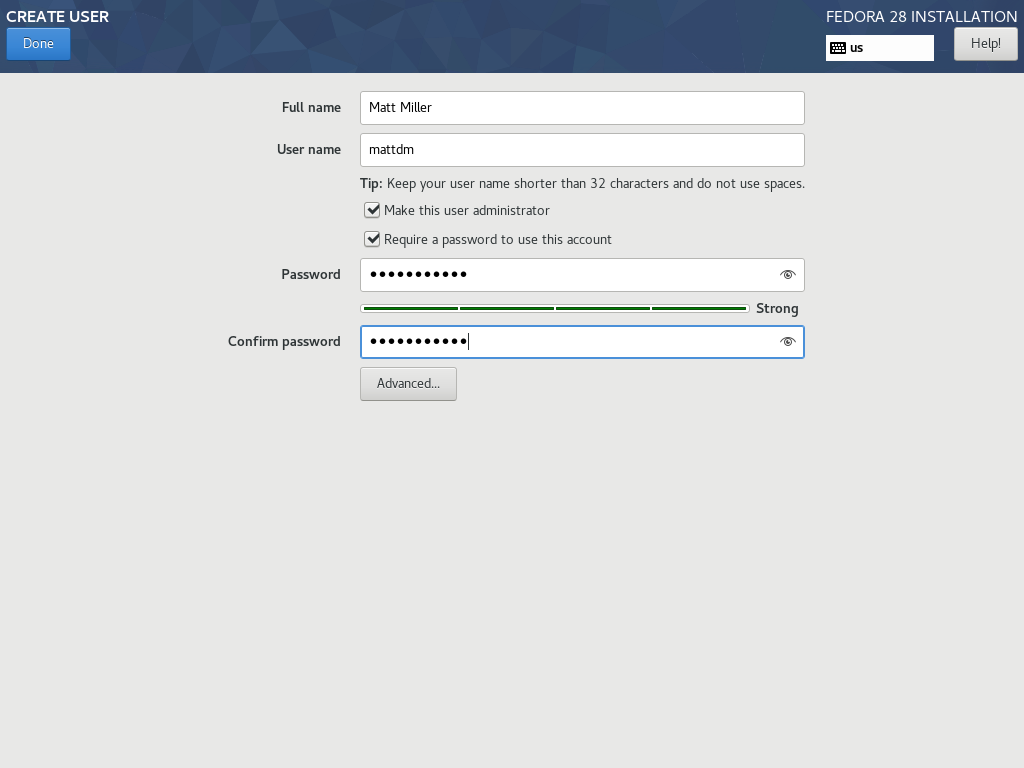
Then we can create a normal, unprivileged user which we will use as our
day to day login. The same suggestions about creating a password for
this user applies. Additionally, we can choose to make the user an
administrator on the system, which grants the username the ability to
use the sudo command to elevate their privileges:
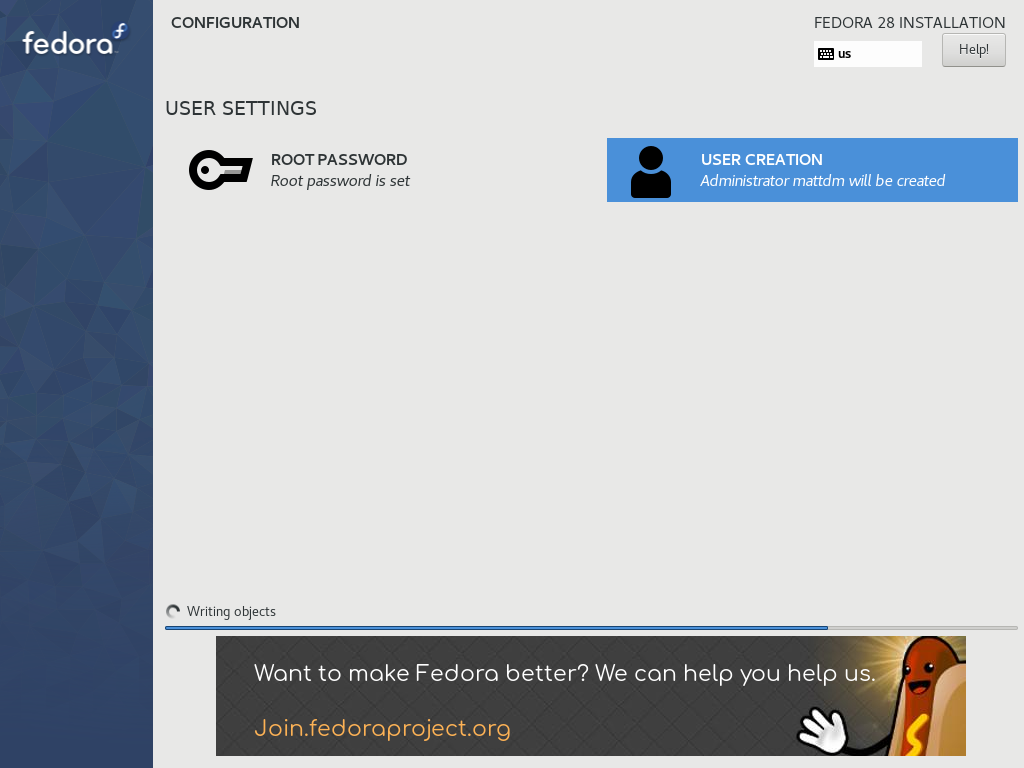
Once we have the root password configured and an unprivileged user configured, we just sit back and wait for the installer to complete:
Eventually, the installer will finish and you will be presented with a big, blue button that says 'Reboot'. This will (obviously) reboot your system and you’ll be able to login to your Silverblue installation for the first time!